How to Take a Screenshot: A Comprehensive Guide for Various Devices
In today’s digital age, knowing how to take screenshot is a crucial skill. Whether you’re a student, a professional, or simply a tech-savvy individual, the ability to take screenshots on different devices can be incredibly useful for a variety of purposes. From saving important information and sharing amusing content to troubleshooting technical issues, mastering the art of screenshots can significantly enhance your digital experience. In this comprehensive guide, we’ll walk you through the step-by-step process of taking screenshots on various devices, including laptops, iPhones, Macs, MacBooks, MacBook Airs, MacBook Pros, and PCs running Windows.
1. How to Take a Screenshot on a Laptop:
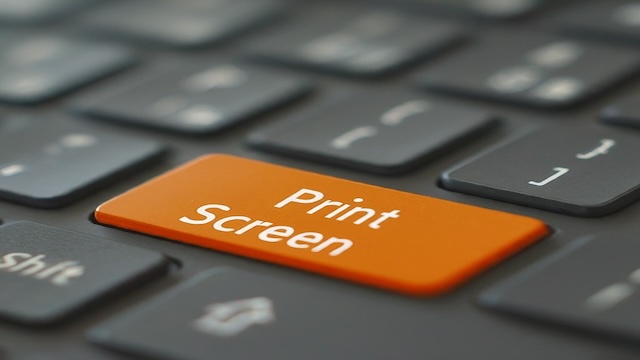
If you’re using a Windows laptop, capturing a screenshot is as easy as pressing the “PrtScn” (Print Screen) key on your keyboard. This key captures the entire screen and copies it to your clipboard. You can then paste the screenshot into an image editing program like Paint and save it. Alternatively, if you’re using a PC running Windows 10, you can use the “Windows key + Shift + S” combination to capture a specific portion of the screen using the Snipping Tool or Snip & Sketch app.
2. How to Take a Screenshot on an iPhone:
Taking a screenshot on an iPhone is a breeze. For iPhones without a home button (such as iPhone X and newer models), simply press the side button and the volume up button simultaneously. If your iPhone has a home button, press the side or top button (depending on the model) and the home button at the same time. The screenshot will be instantly saved to your Photos app, allowing you to access and share it with ease.
3. How to Take a Screenshot on a Mac:
Mac users can capture screenshots effortlessly using built-in keyboard shortcuts. To capture the entire screen on a Mac, simply press Command + Shift + 3. If you want to capture a specific portion of the screen, press Command + Shift + 4, then click and drag to select the area you want to capture. Your screenshot will be saved as a file on your desktop, ready for you to view and edit as needed.
4. How to Take a Screenshot on a MacBook, MacBook Air, or MacBook Pro:
The process of taking screenshots on MacBooks is identical to that on a Mac desktop. Whether you’re using a MacBook, MacBook Air, or MacBook Pro, you can use the same keyboard shortcuts to capture screenshots. Press Command + Shift + 3 to capture the entire screen, or Command + Shift + 4 to capture a specific portion of the screen.
5. How to Take a Screenshot on a PC:
PC users have several options for capturing screenshots, depending on their preferred method. If you’re using a PC running Windows, you can use the “PrtScn” (Print Screen) key to capture the entire screen, similar to laptops. Alternatively, use the “Windows key + Shift + S” combination to capture a specific portion of the screen using the Snipping Tool or Snip & Sketch app.
6. How to Take a Screenshot in Windows:
In addition to using the methods mentioned above, Windows 10 users can utilize the Snip & Sketch tool for capturing and annotating screenshots. To access this tool, simply press “Windows key + Shift + S” or search for “Snip & Sketch” in the Start menu. This handy tool allows you to capture, annotate, and share screenshots seamlessly, making it a valuable asset for Windows users.
By mastering these simple techniques, you’ll be able to capture screenshots on a wide range of devices, from laptops and iPhones to Macs and PCs running Windows. Whether you’re documenting important information, sharing memorable moments, or troubleshooting technical issues, knowing how to take screenshots will undoubtedly enhance your digital experience. So go ahead, give it a try, and start capturing your screen with confidence!


nicely explained!! keep it up!